
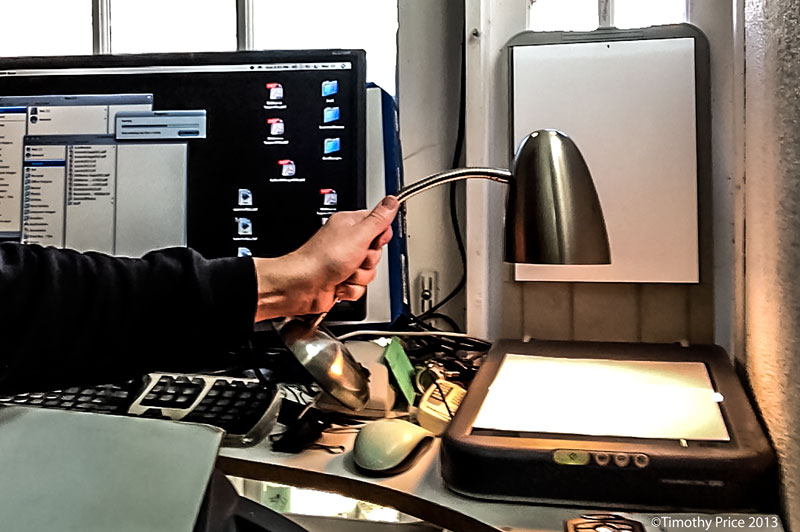
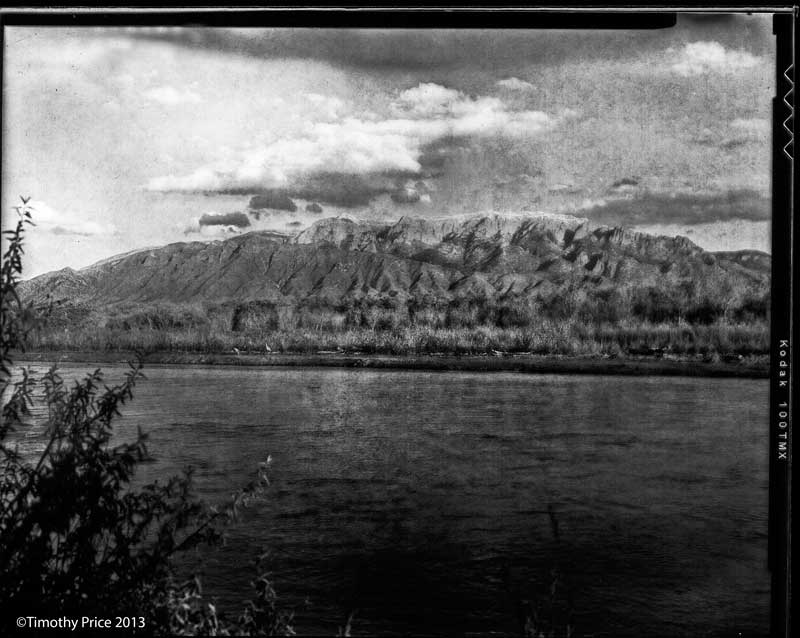
I processed a batch of 4X5 negatives I took of the Sandias and a railroad bridge with my 4X5 view camera over the past few weeks. Since I don’t have a scanner that is made to scan 4X5 negatives, I did “ghetto scanning” of the negatives by making a film holder out of a sheet of card stock, placing the holder and a negative on my old Epson 1260 scanner, placing a sheet of paper over the holder and negative, and holding a lamp with a 25 watt light bulb over the paper the negative is under as a back light while scanning the negative. The scanner is set for reflective scanning, so it doesn’t quite focus on the negative with a backlight, but the process sort of works, giving the resulting images a vintage look.
Since I’m still learning how to process 4X5 film using a daylight processing tank, when I first pulled the negatives out of the tank after the final rinse, they were purple in the middle. Oops! I hadn’t fixed them quite long enough, and I needed to agitate the tank more during the fixing process. So the negatives went back into the tank for another round of fix with more aggressive agitation. After another round of hypo-clearing agent and another rinse, all the purple was gone, but the double round of fixing left the negatives a bit uneven.
Then there’s the issue that the lamp I’m using for the “ghetto scanning” doesn’t fully cover the negatives, so I get bright edges on the images in the resulting scans. I did a little “burning” around the edges in Photoshop to even things out, which worked a pretty well on some images, and didn’t make much difference on others.


Impressive that you got any kind of picture with what you had to do.
Thanks, Lois!
Seems to be very nice quality!!!
Thanks, Alex!
Love the photos! They look real old and that’s exactly what I like… 😉
Thanks Erica. I used an old view camera to take the photos;-)
You’re welcome, Tim!
Hey Tim.. Hey scanning for reference material to see what you have before committing to printing, not half bad. I have V600 and reintroduced myself back into large format. I think this hack will work. Thanks for sharing.