A lot happened in 2014, but the most significant for my photography was finishing my darkroom, and going back to developing film and printing the negatives. While doing a photo a day for this blog still demands a lot of time with digital cameras and processing, I’m rediscovering the challenges and excitement of film again: loading sheet film holders in the darkroom, taking a bunch of equipment out into the field, setting up the camera, taking multiple readings off a handheld light meter and then deciding on a good f/stop / shutter speed combination for the situation, composing the scene upside-down and turned left to right, setting the f/stop and shutter speed as per the light meter readings, cocking the shutter, inserting the sheet film holder into the camera, pulling the dark slide, tripping the shutter, turning the dark slide so the black label shows, inserting the dark slide back into the sheet film holder and removing the sheet film holder from the camera — one negative exposed.
Back in the darkroom there’s mixing chemistry and developing the negatives by hand in trays (about 30 minutes total). There can be a fair amount of manipulation when developing negatives depending on the developer used, temperature of the developer and time in the solution. No matter the process I choose for developing the negatives, once I’ve finished running the negatives through the fixer solution and turn on the light, it’s a magical moment to hold up a negative to the light and see an image on it.
Once the negatives dry, they can be printed. For photographers who have never worked in a darkroom and think that what is on the negative gets printed full-frame, without manipulation, think again. There is almost always some cropping of the image, and then there is often a lot of manipulation in the printing process starting with the exposure and f/stop combo, dodging, burning and somethings using contrast filters on the enlarger; then there is the type of developer used, time in the solution and use of toners in the final processing to get the print to come out the way I want it to.
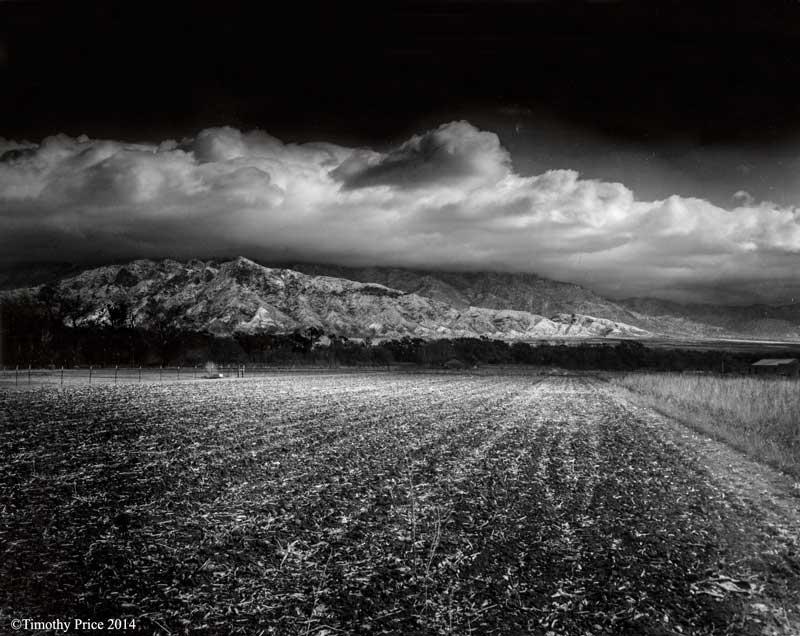
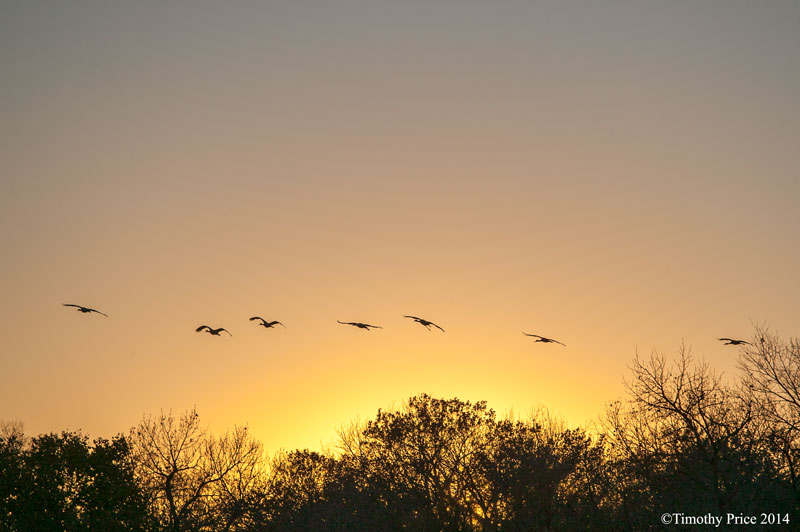
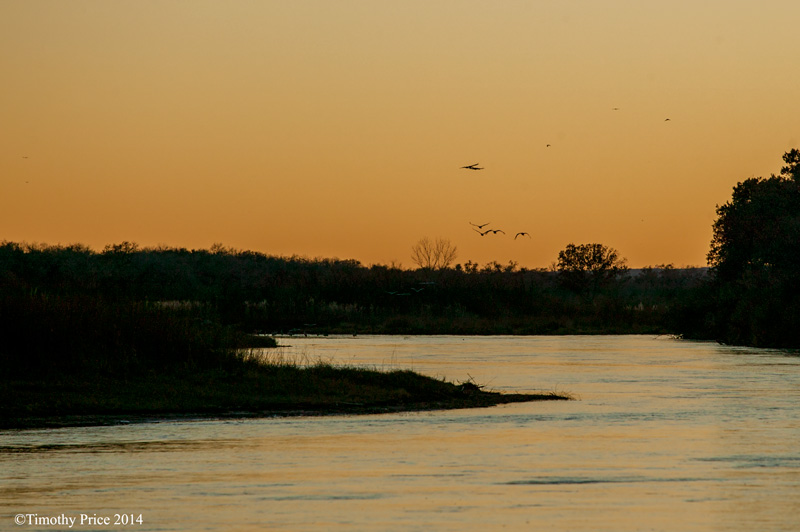
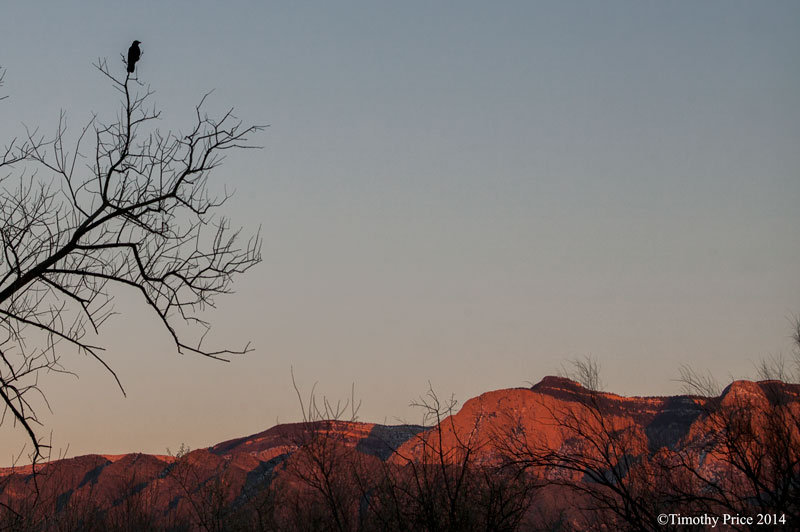
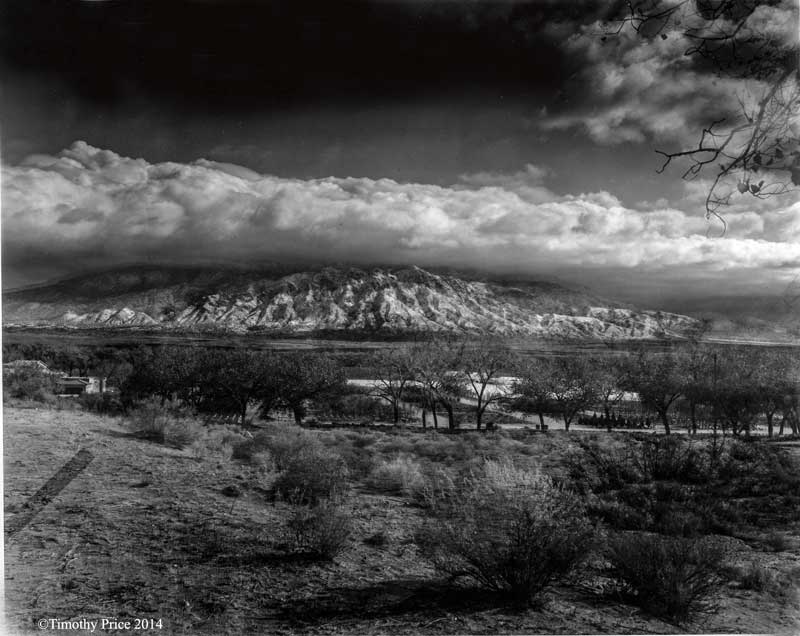
In many ways film is more exacting that digital, but at the same time film can be quite forgiving. The lead photograph is a good example. It was bitter cold and windy when I took the photo. I forgot to turn the dark slide to the black label indicating the negative had been exposed, because I moved a 1/2 mile to the north and by chance grabbed the same film holder and took a second exposure on the same negative. I noticed I seemed to be missing a photograph from the series of photos I had taken that morning after I developed the negatives, and finally realized what had happen from the ghost of the jetty on the lower left side of the print and the tree limbs in the upper right. Even though I was a 1/2 mile north for the second exposure, the Sandias and clouds registered close enough that they don’t look there were two exposures from two different locations. However, if you know the two areas, you can see some dark bushes that don’t belong in the foreground, the Rio Grande mixes in with the green houses and bosque in the middle ground, there are some double images of the Sandias on the left and right side of the print, and the white haze above the clouds are ghosts of the clouds from he second exposure.. Otherwise, the scene looks normal — another magical moment and mystery with film.