2 Score, 6 Gone By

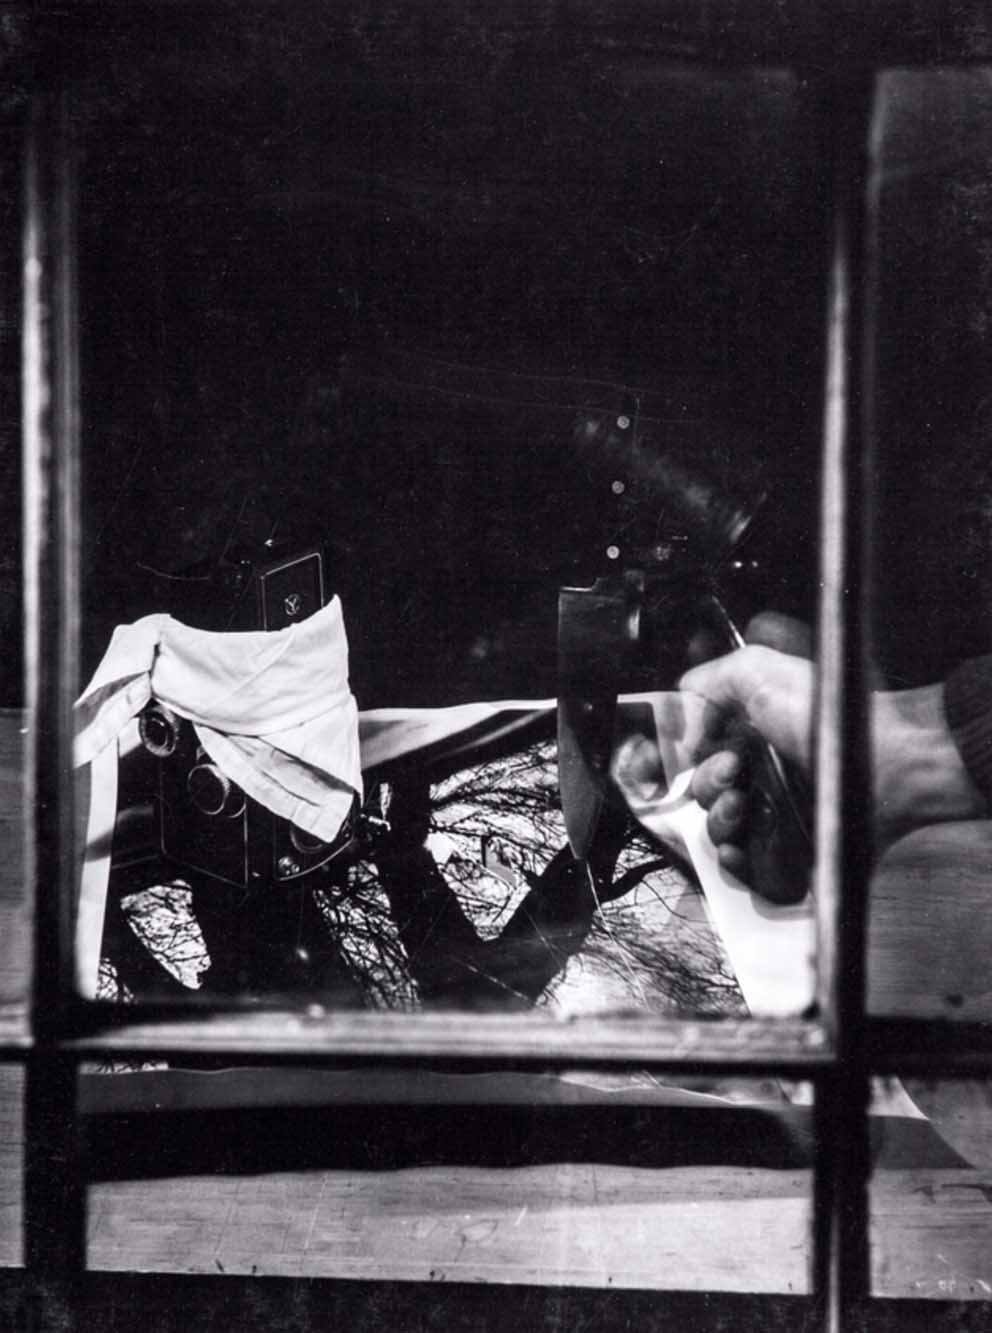
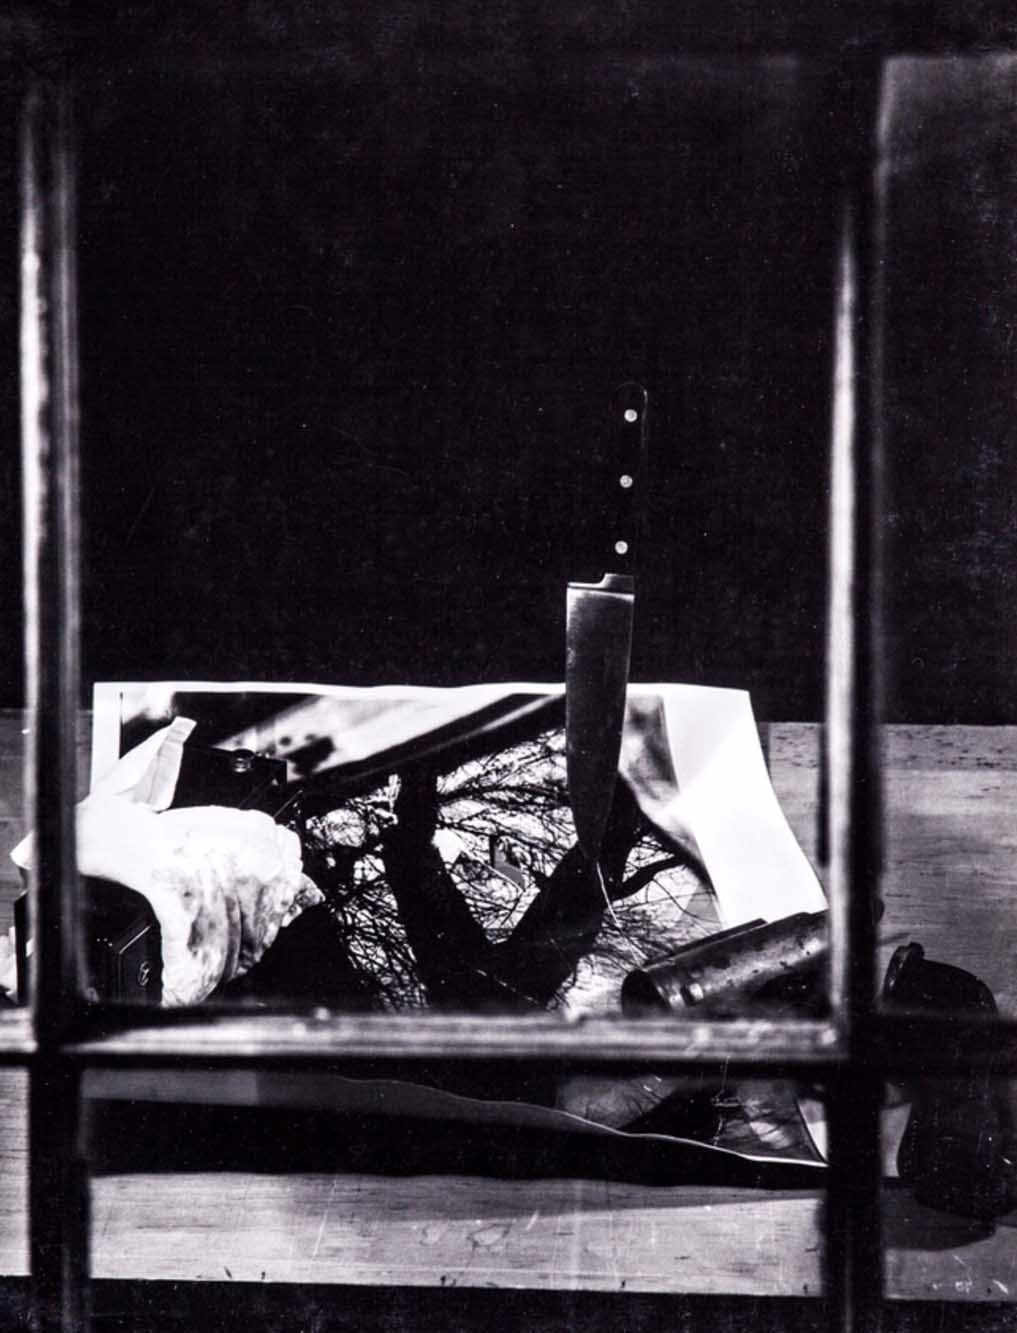
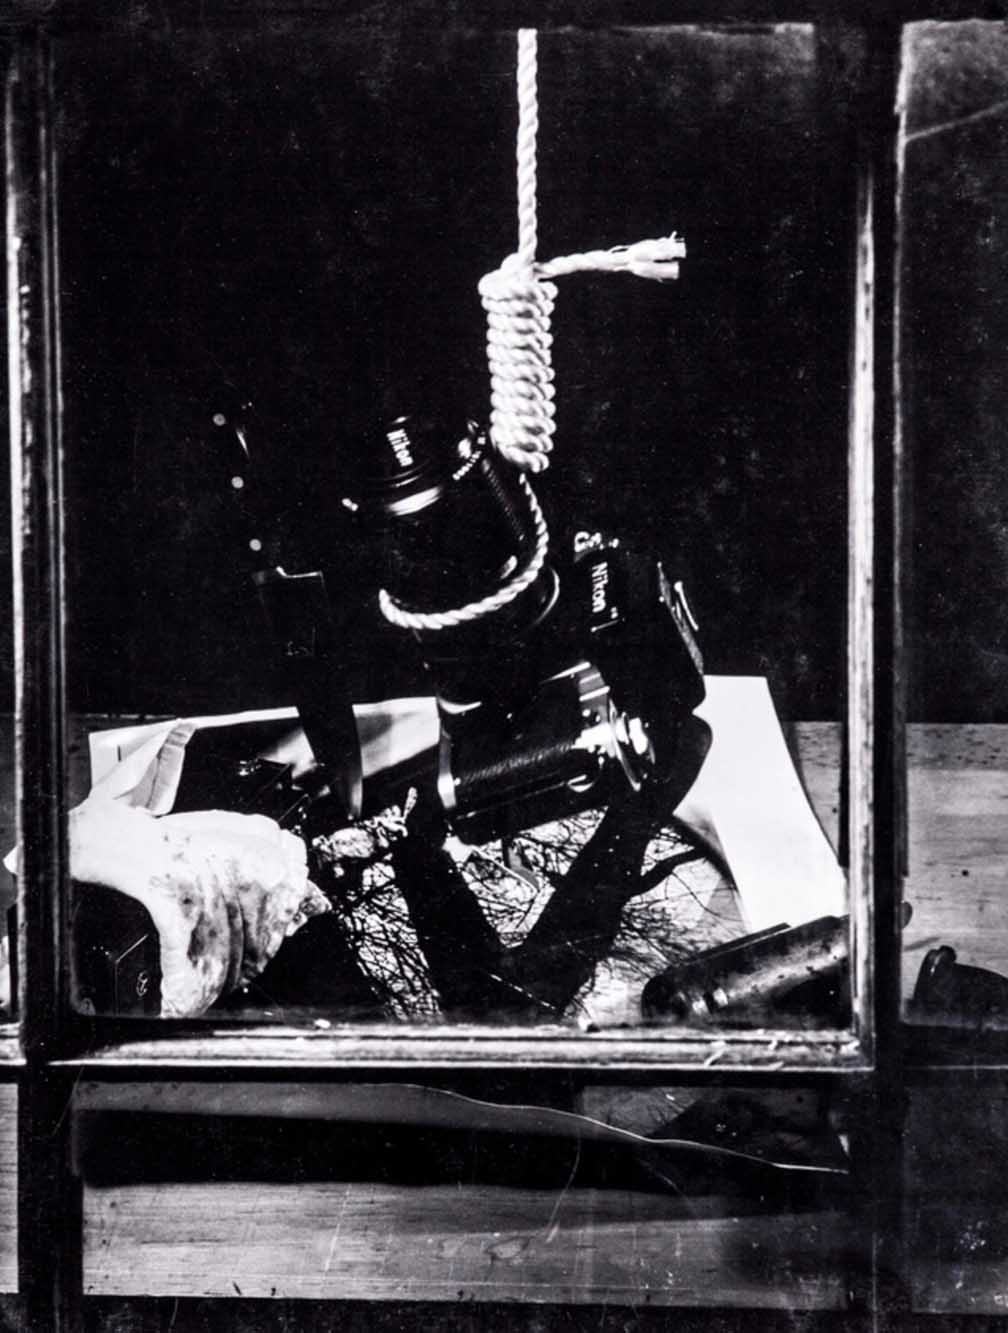
THE WINDOW IN MY DREAMS

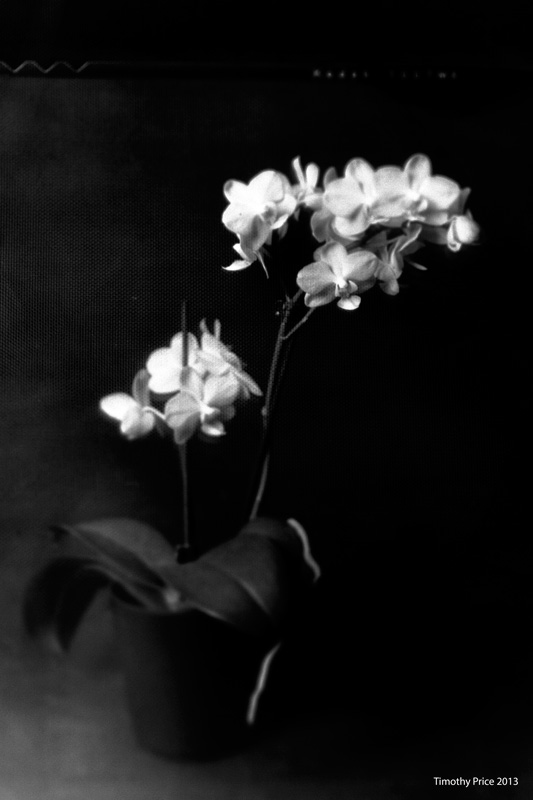
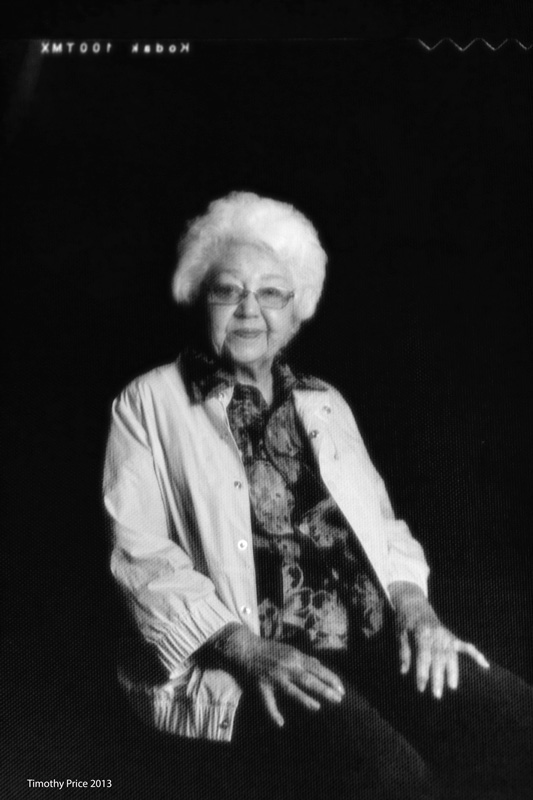
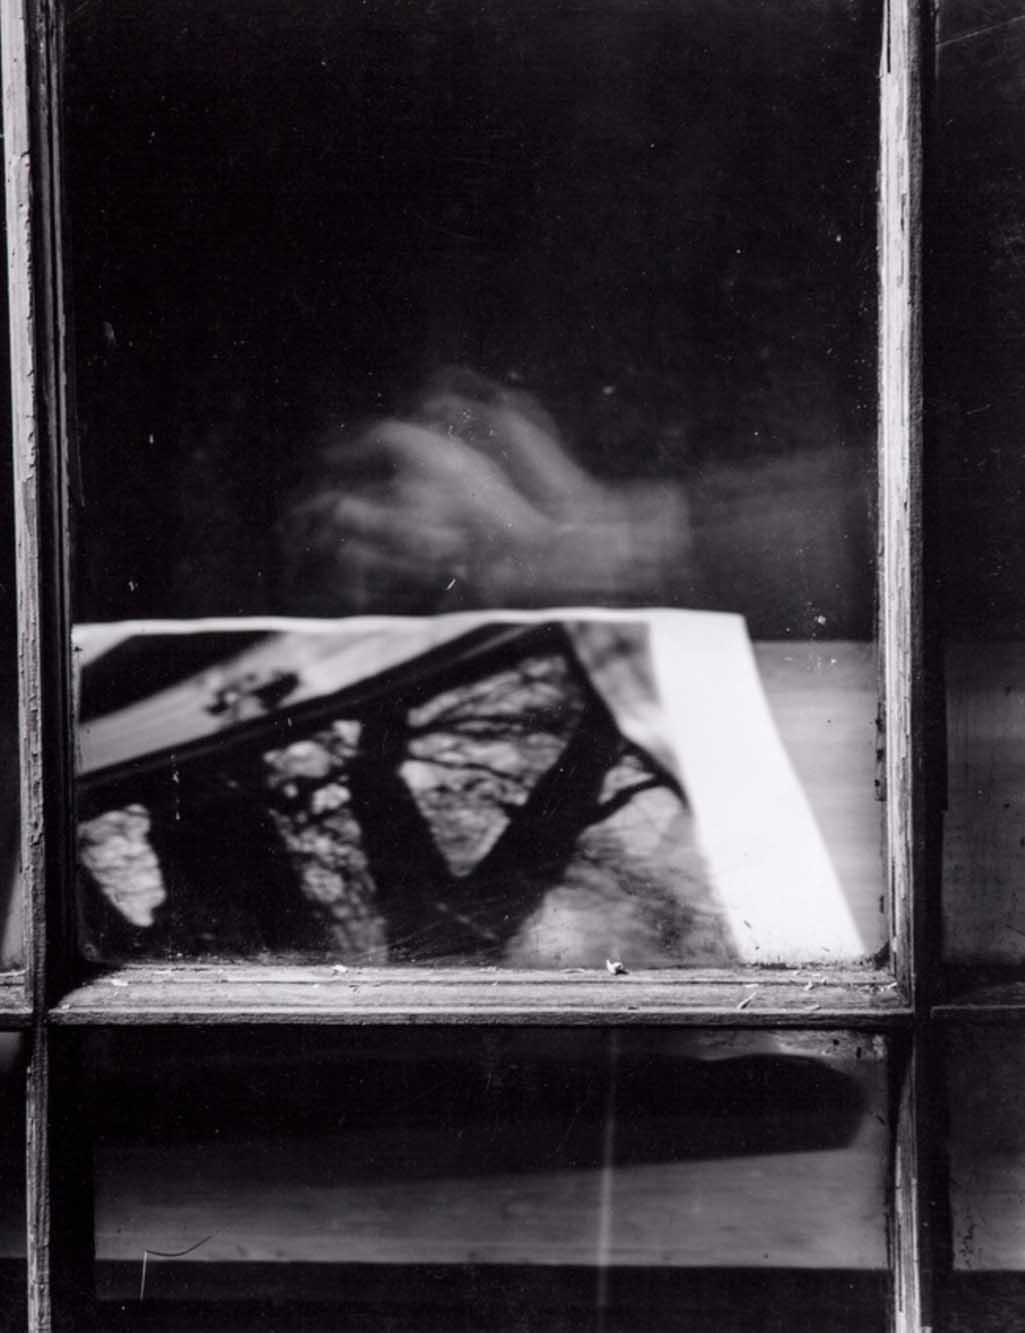
On this date 6 years ago, I posted the photo essay below on my T&L Photos website that was my final project for one of my photography classes at the university back in 1981. The introduction and concluding photos in the series were typeset on paper by a local typesetter, I photographed the pages with my 4X5 view camera and reversed processed the negatives into positives so when I printed the sheet film I got white letters on a black background. I made each photo with a combination of long exposures and manually triggered flashes to capture movement with some clarity in the images. I had to carefully calculate each exposure and plan the details of each shot to successfully execute each photograph because I could not preview each shot before I processed the negatives. Only one 4X5 negative was exposed for each print in this series. The project was a major undertaking.

I noticed the writing was not my best back then. I didn’t have a personal computer, so I didn’t write nearly as much as I do today. These days, I would never use “Sometimes I venture into the deepest shafts of my mind, into a room…” How clunky is that? I would change it to something like “Sometimes I wandered through the deepest recesses of my twisted mind, into a room…”

Click on the gallery to see the photos larger.

I would rewrite the conclusion, as well:

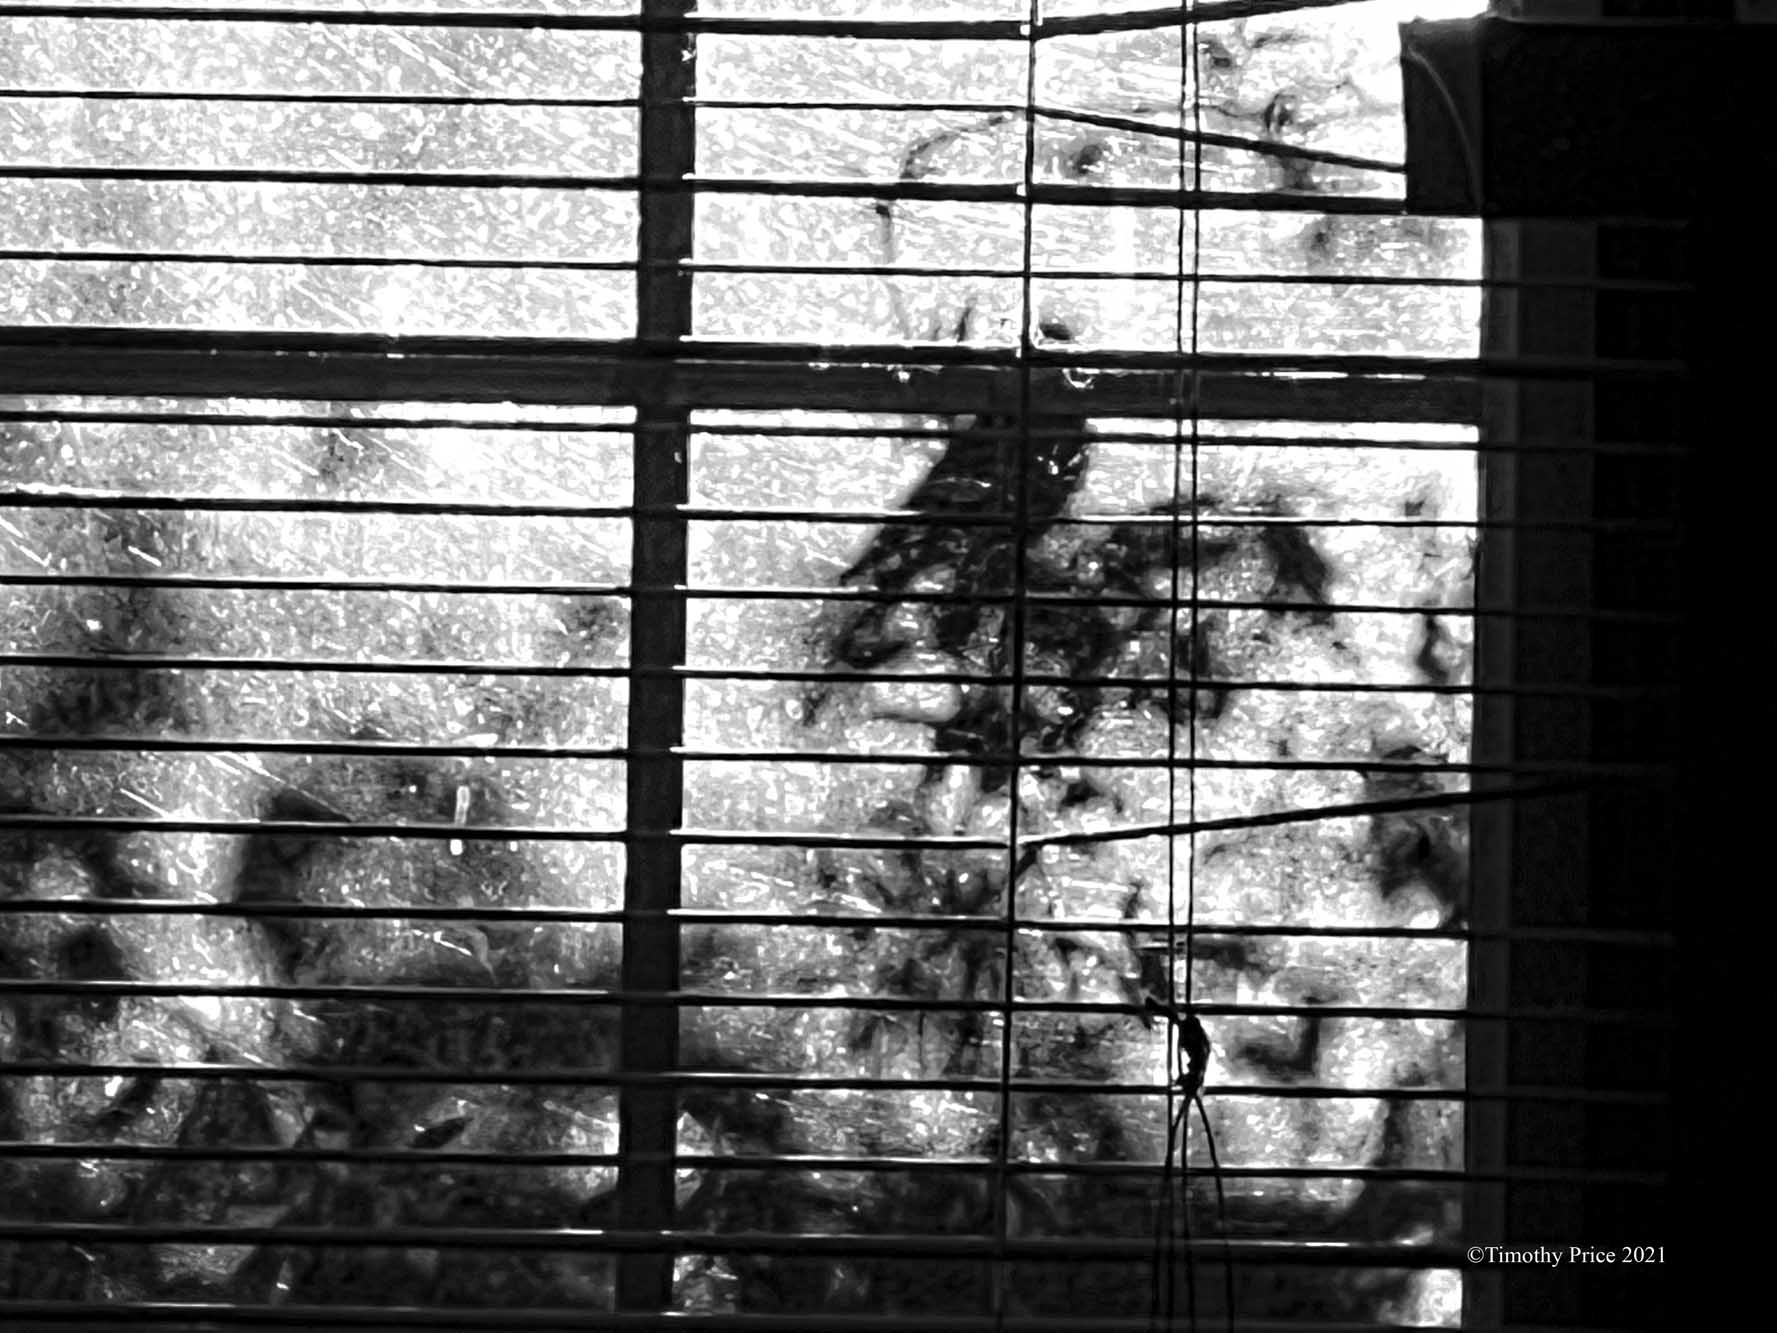
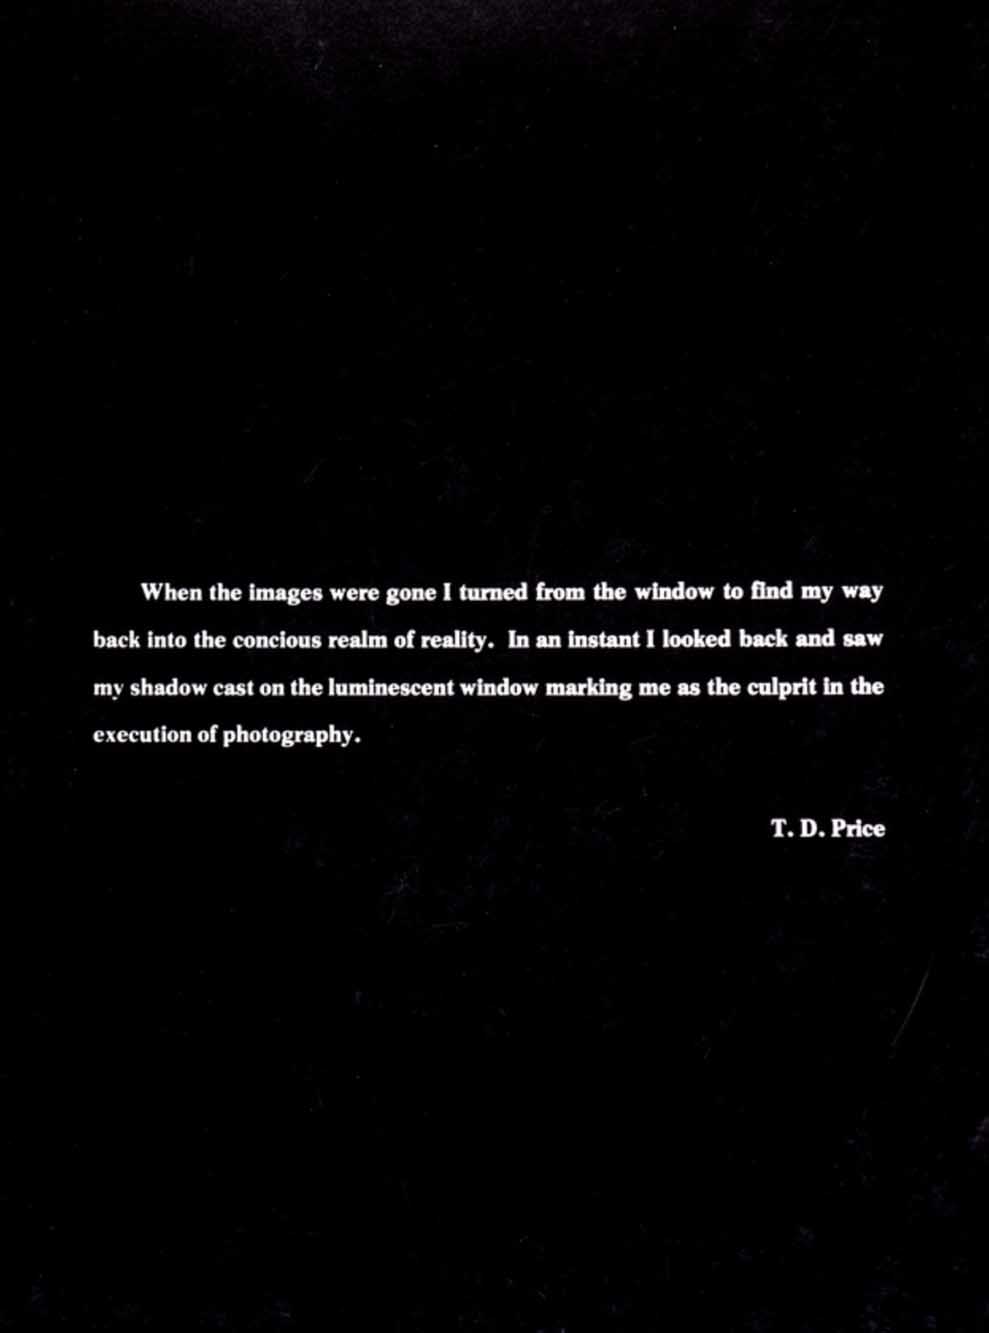
“As the images behind the window faded, I turned to find my way back to reality. Teetering on the edge of consciousness, I looked back to see my shadow hanging in the window, I was guilty of the execution of photography.”

The Living and the Dead

OldChurch

“Ghetto scans” of 4X5 photos I took of a couple of churches and a graveyard on New Year’s day. Between the scanning technique, and the paper texture that gets picked up by the scanner (I place a piece of paper on top of negatives to help distribute the light more evenly), “ghetto scanned” 4X5 negatives end up looking like really old photos.

Cemetary007


Church


Ghetto Scanning

IMG_0357

I processed a batch of 4X5 negatives I took of the Sandias and a railroad bridge with my 4X5 view camera over the past few weeks. Since I don’t have a scanner that is made to scan 4X5 negatives, I did “ghetto scanning” of the negatives by making a film holder out of a sheet of card stock, placing the holder and a negative on my old Epson 1260 scanner, placing a sheet of paper over the holder and negative, and holding a lamp with a 25 watt light bulb over the paper the negative is under as a back light while scanning the negative. The scanner is set for reflective scanning, so it doesn’t quite focus on the negative with a backlight, but the process sort of works, giving the resulting images a vintage look.

Since I’m still learning how to process 4X5 film using a daylight processing tank, when I first pulled the negatives out of the tank after the final rinse, they were purple in the middle. Oops! I hadn’t fixed them quite long enough, and I needed to agitate the tank more during the fixing process. So the negatives went back into the tank for another round of fix with more aggressive agitation. After  another round of hypo-clearing agent and another rinse, all the purple was gone, but the double round of fixing left the negatives a bit uneven.

Then there’s the issue that the lamp I’m using for the “ghetto scanning” doesn’t fully cover the negatives, so I get bright edges on the images in the resulting scans. I did a little “burning” around the edges in Photoshop to even things out, which worked a pretty well on some images, and didn’t make much difference on others.

RailroadBridge

RailroadBridge1

Sandias004

SandiasCorrales

Fiddling with Film

45CU0553

I got a 4X5 view camera and lens on ebay, and I had ordered an adapter that was supposed to allow me to use my Canon bodies on the 4X5, moving the adapter around to six different positions to cover most of the view area on the 4X5. Then I would have stitched the six images together to make the final photo. The adapter didn’t fit right so it couldn’t move through any of the positions, which was useless, so I returned the adapter. I was going to return the 4X5, but then I thought, “what the heck” and decided to keep it and do some film again (I used a 4X5 view camera exclusively when I was a photo student in the early 1980’s).

I mixed up chemicals this morning, and using a daylight changing bag, I loaded negatives I had taken a couple of weeks ago into a daylight processing tank. I processed my first test negatives in the kitchen sink this afternoon, and hung them over the sink to dry.  It was fun and nostalgic being a photo-chemist again — measuring and mixing the developer, fixer and hypo-clearing agent, getting the developer to the right temperature, agitating the tank at minute intervals while the developer did its magic, followed by the stop bath, fixer, hypo-clearing agent and final rinse. All the time there was much anticipation with some anxiety about the results, as it was the first time I had processed 4X5 sheet film in almost 30 years.

The negatives are not too bad, but negatives look like negatives, and since I currently do not have a scanner that can scan 4X5 negatives, I photographed them on a soft box, then reversed  two of the images into positives that are displayed below. The first photo of each pair is a shot of the emulsion side of the negative, which is not as reflective, but the images are reversed. The second photo of each pair is a shot of the negatives turned over so I’m shooting the shiny side of the negative. In all the photos below, my macro lens picked up the texture of the fabric cover on the soft box, so you can see texture in parts of the photos. The emulsion side of the negatives was easier to photograph because there was less glare, allowing the black background to be black. I had to hold the camera at a different angle to reduce the glare on the shiny side of the negatives as much as possible, which also created a much shorter depth of field on the second photo in each pair.

IMG_1496


IMG_1502


IMG_1493


IMG_1498